
Every time I feel annoyed by the default quick access toolbar that is placed on Windows 10. That shows what place I have or someone accessed lately not Windows Explorer.
I know that is a good setting and feature of Windows 10, where let me keep track of what has been opened. But I feel that It should make easy access to the explorer as well rather opening what has been opened lately. I think I can check that on Quick Access section of Windows 10 if required.
In this guide, I will show you how to change default quick access setting of Windows 10. This is very simple and easy tips for Windows. I not going to show you every long way steps, I will show you all the shortcut which might save your time.
Change Windows 10 Quick Access to Windows Explorer
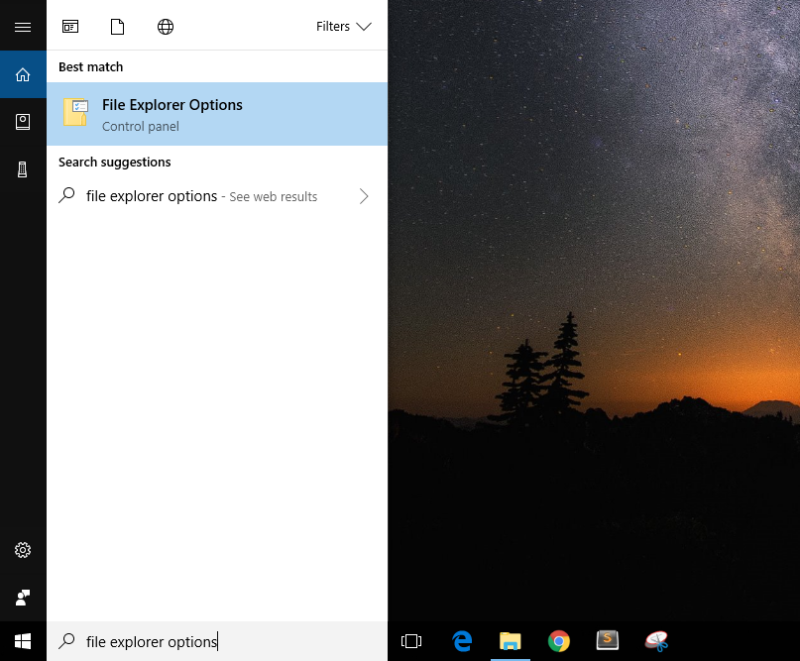
Step 1: Use Cortana search bar and search for the term “File Explorer Options” and enter.

Step 2: Now you will see the “Folder Option” which has been changed to “File Explorer Options”. On that Window there is a tag Open File Explorer To the default setting will be Quick Access just click on the drop down and change it to The PC.
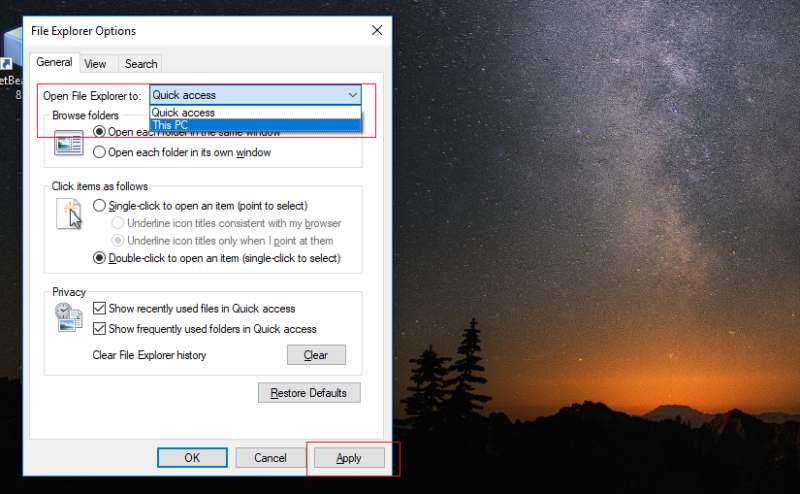

Step 3: Now save the settings “Apply” or Ok.
Step 4: That’s it you are done with the explorer. Which is now changed to The PC. Now when you press Win Key + E = Now it will trigger the Window The PC where you can see your default drives and document files.
That’s it.